Branch Weaving
Taking a Creative Break
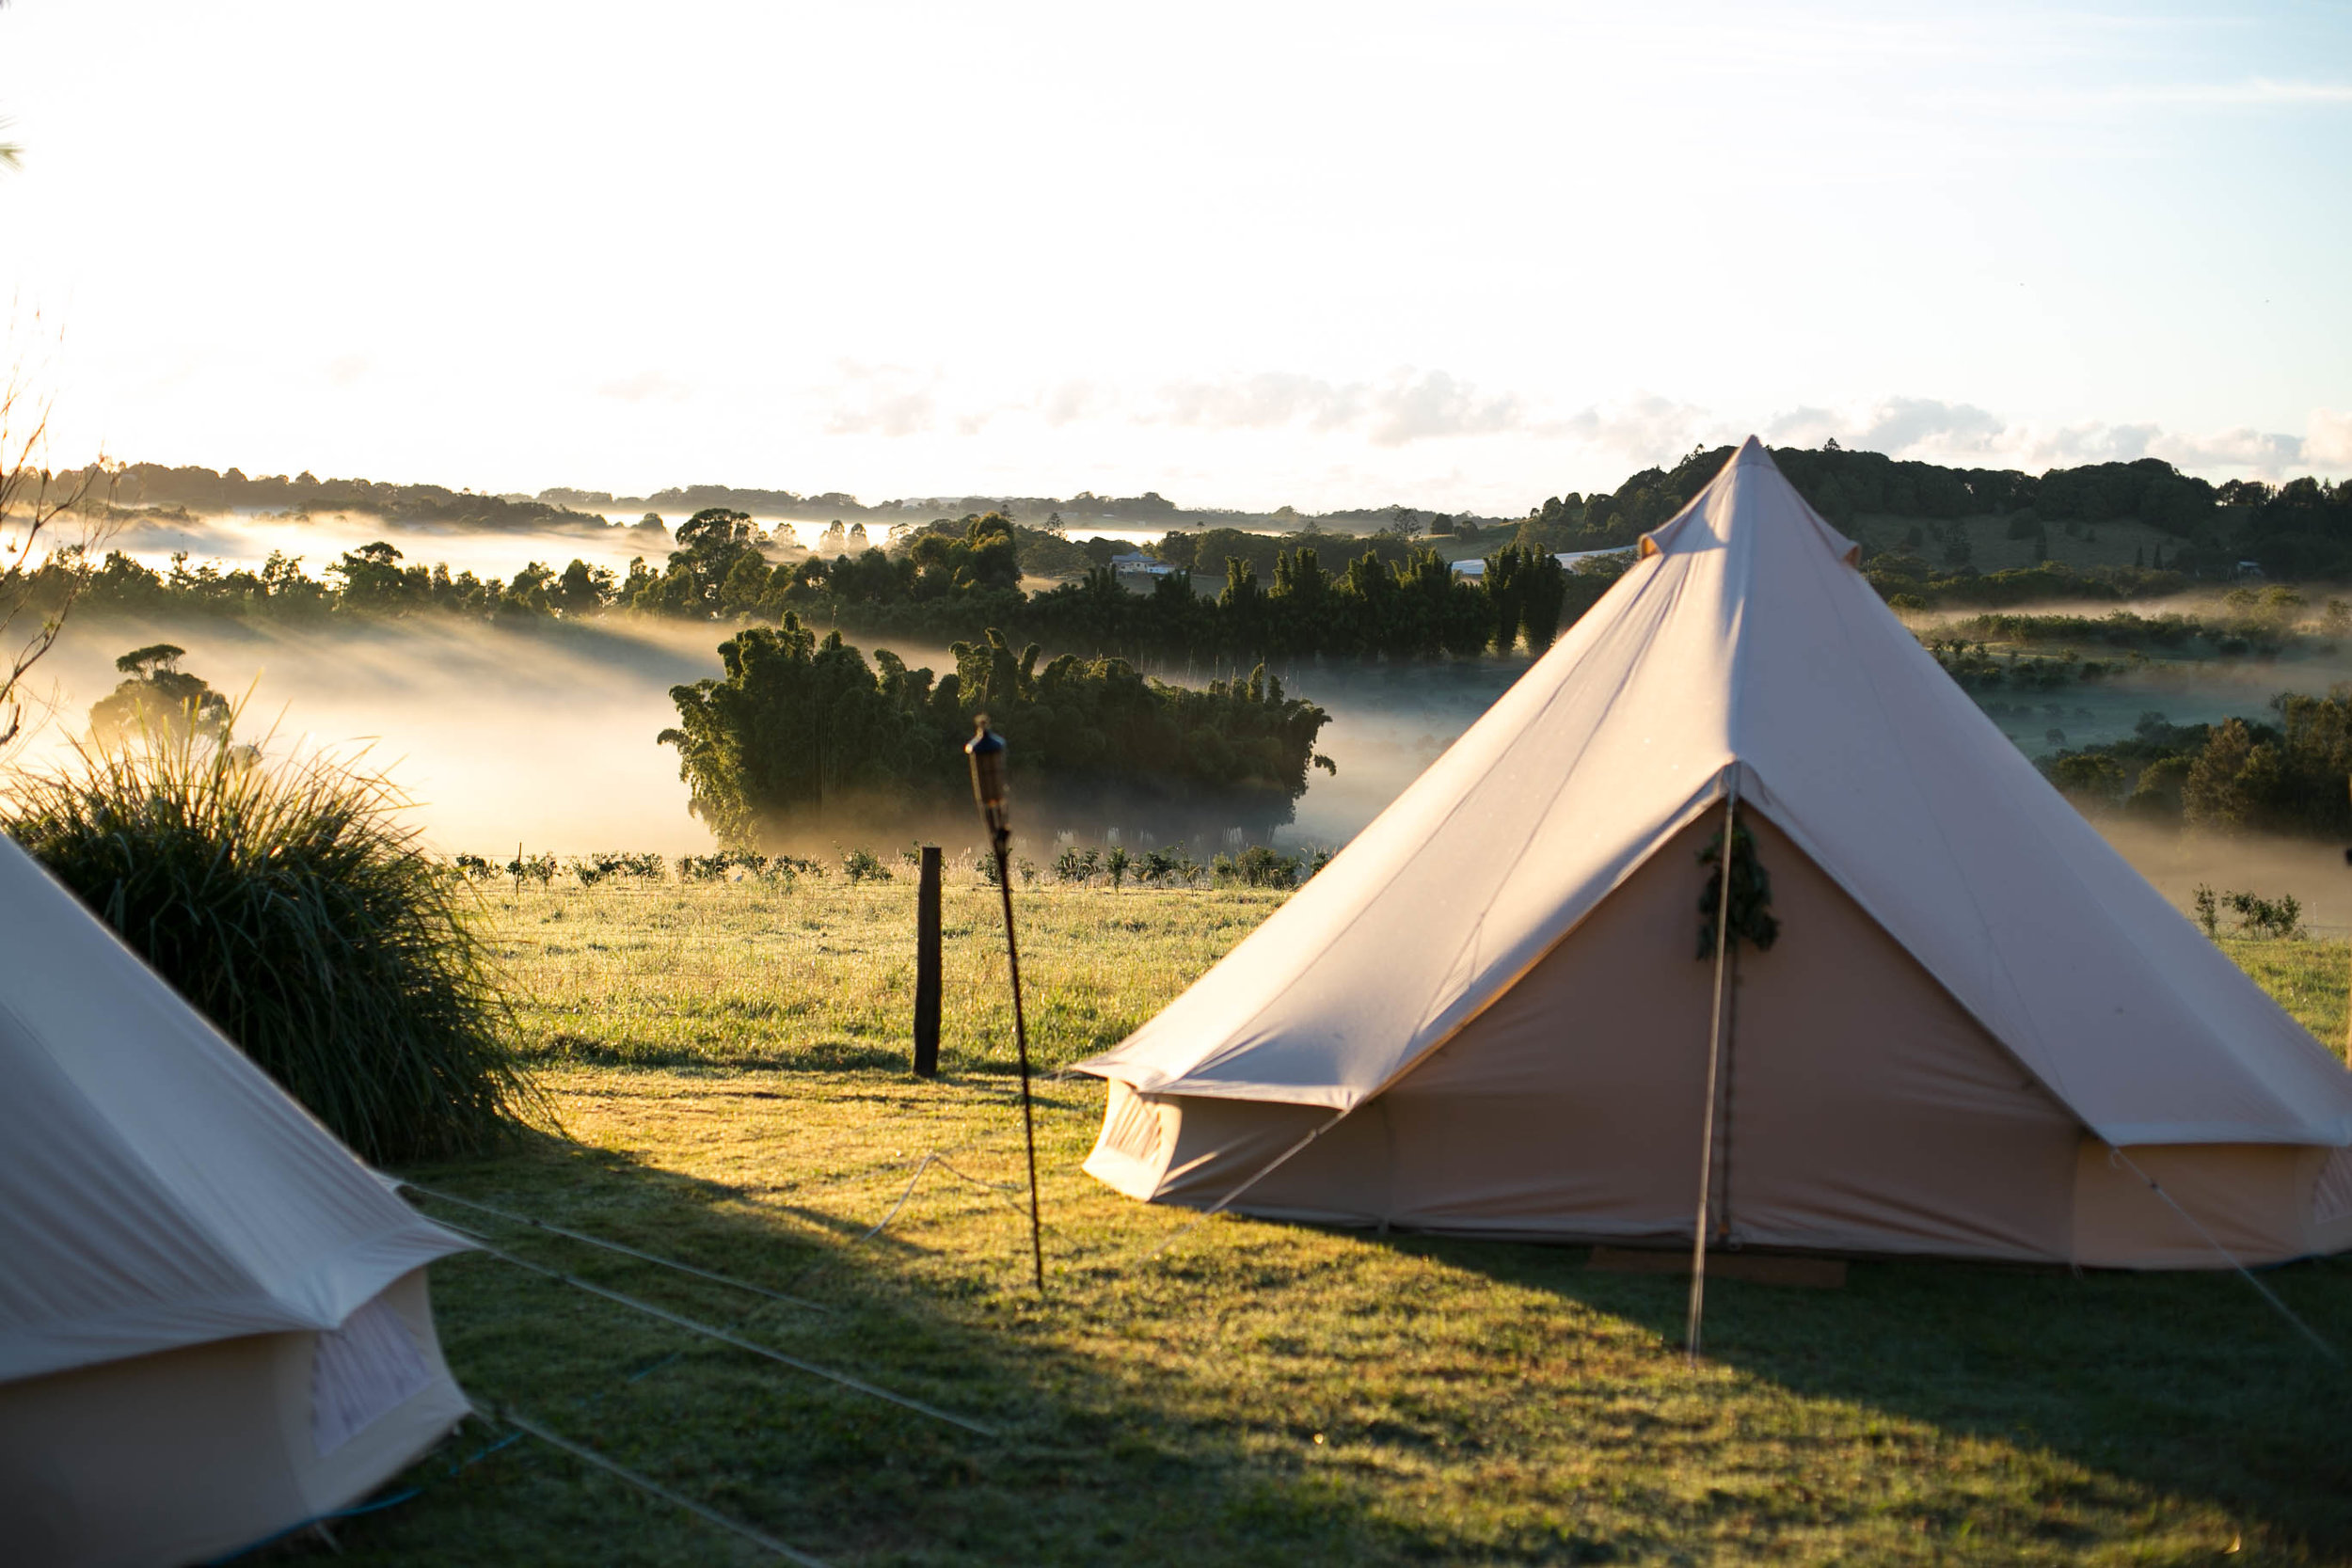
 Slow living, it's a phrase that you hear bandied about these days. Sometimes it's used to reminisce nostalgically about a life now gone, sometimes it can just mean a home cooked meal or even talking the time for a walk after work and then it can embody experiences which truly do help you slow down. Last year I had the joy of a experiencing a real slow living creative retreat in the hinterland of Byron Bay organised by an incredible team from Australia and abroad: Beth Kirby (@local_milk), Rebekkah Seale (@camelliafibercompany), Luisa Brimble (@luisabrimble, Lean Timms (@leanandmeadow) and Aaron Teece (@studioneon).This Local Milk Retreat was a mindfully created and curated 3 days photographic, styling, cooking and collaborative experience which provided the opportunity and luxury of slowing down and reconnecting you with your creative passions. It was such a treat to take time out to inhale the minutia of moments, the dappled light on a window, the texture of plate and linen, the color of fresh picked produce, the alchemy of a well crafted meal ... in order to "speed up" your craftsmanship. We were joined by a small group of participants, each on their own creative pilgrimage and it was such a gift to get to know them and share the experience with them.
 Sitting on the verandah of the main house in the afternoon with a basket of artfully twisted skeins of naturally dyed wool (a dusty pink from the madder root) we listened to Rebekah Seale talk to us in her distinctive southern twang about branch weaving. Just the touch of beautiful wool is enough to excite possibility in me, even though I'm not a knitter, so it was a relief to find that weaving without a loom could be so easy.
 As the afternoon progressed we began with our own unique forked branch and set up the warp and weft between the branches. Once the weaving was in full swing, the conversations moved back and forth in similar fashion in the warm shaded light and soon enough our woven branches began to take shape. Some chose to work with tufts of sheep's wool, some the spun and dyed wool and others interspersed their weaving with found objects, feathers and leaves. The instructions follow. (You can also download an illustration of the branch weaving instructions at the end of the blog)
Branch Weaving with Rebekah Seale
Naturally dyed wool woven between branches
 Skill level: easy
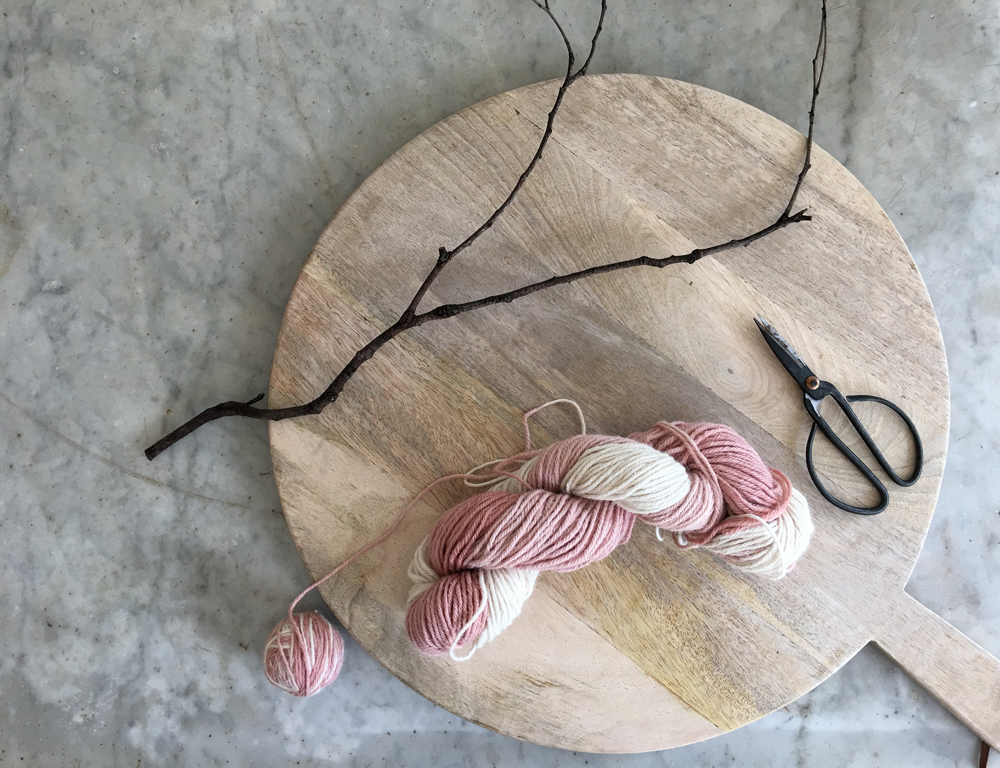
You will need
- A forked branch (gum trees work wonderfully)
- Wool
- Safety pin
- Scissors
- Found objects such as leaves, feathers or flowers etc to weaves in if you want to.
Weaving terminology you need to know: The warp is the wool layer which forms the base of the weaving, the weft is the thread that weaves in and out (up and down) through the warp.
Instructions
Step 1You need to unwind your skein of wool and then wind it into a ball. To do this, without getting the wool all tangled up, grab two chairs and put them back to back and wind the wool around and around the backs until it's all wound out. Then grab the end and roll into into a tight ball of wool. Step 2Find a lovely forked branch. Tie on your wool tightly at the bottom of the fork of the branch and then create the warp. This is the base layer for the weaving. This is the only tricky part. Look carefully at the detail shot that follows. You need to go under the branch wind it round and bring it up and over the other branch. Keep going till you have it as high as you want your weaving to be then tie it off.
 Step 3Now you can start the weft layer. Cut a length of wool and attach a large safety pin in the end so it's easier to thread. Now weave the thread up and over each warp thread then turn around and thread it through again in the opposite way .. over and up.
 Step 4To keep the weaving tightly packed (if that's the look you're wanting) use a fork to push it down before you weave the next line. Continue on until its all finished. You can also weave in leaves or feathers or found objects as you go of you want.

Download the instruction illustration below


